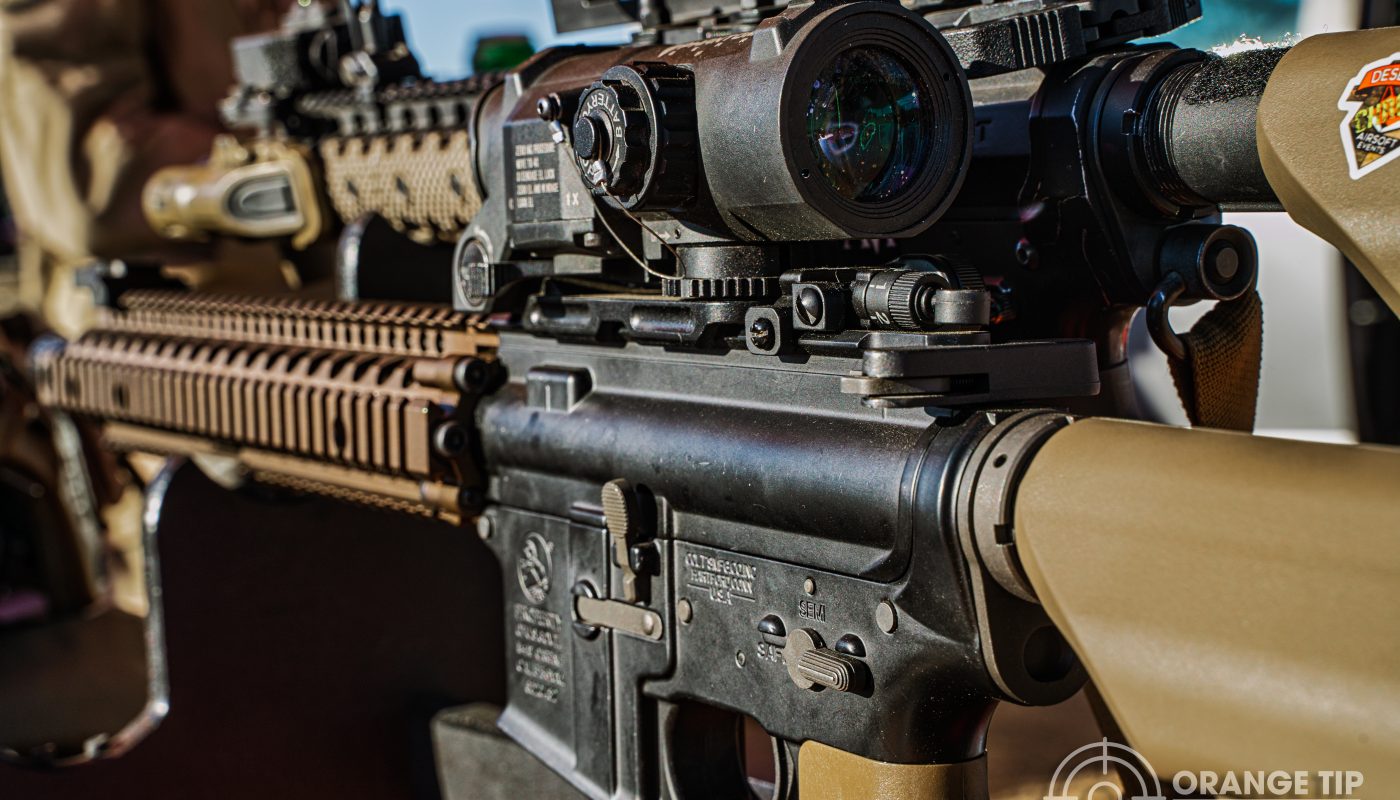
Did you slap a brand new scope onto your airsoft rifle, and now it’s not hitting where you want it to? Maybe you dropped your rifle and suddenly you can’t hit anything?
Sounds to us like your scope needs zeroing.
Good news! That’s just what we wanted to talk about with you, so let’s jump in and get you back on your game.
What Does “Zero” Mean?
First off, if you’ve heard the term “zeroing a scope,” but don’t know what the heck that means, you’re in the right place.
When you zero a scope, it simply means that you are aligning it so that you hit what you aim for–easy, right?
“But, like, isn’t the point of a scope to aim for things really far away and hit them?”
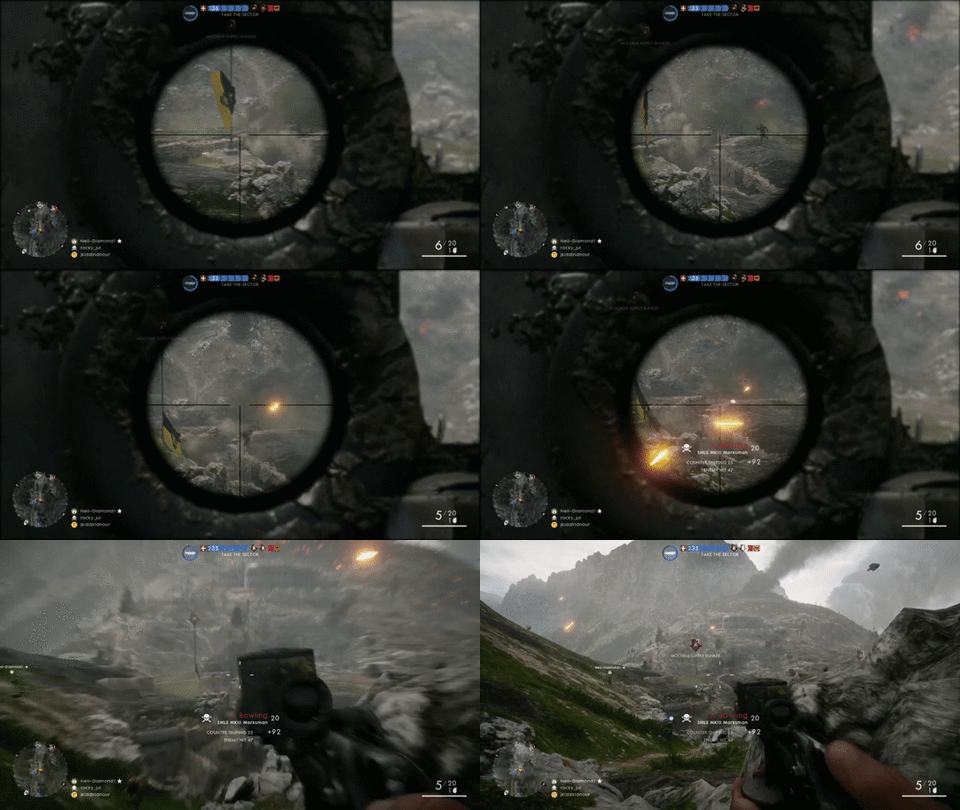
Okay, yes, but installing a scope and hitting the field isn’t going to do you any favors. Why?
Because you need to zero your scope and align it to work with your gun. It’s as simple as that.
Just like you need to adjust your plate carrier to fit your body, you need to adjust your scope to fit your gun. And you may even find that you need to readjust it, occasionally.
So, if you’re not hitting what you want to hit, keep reading, and learn exactly how to zero your scope for accuracy.
How to Zero an Airsoft Scope
Zeroing a scope isn’t as technical as it sounds, and even the newest airsofters can get the job done on their own.
Here’s what you’re going to need to know before you go off and start twisting turrets.
Location, Location, Location
You’re going to need to fire your airsoft gun a fair bit in order to get zeroed, so pick a place where it’s safe to shoot. If it’s possible, pick a place where you’re familiar with your targets, meaning you know just how far away they are and what the target zones look like.
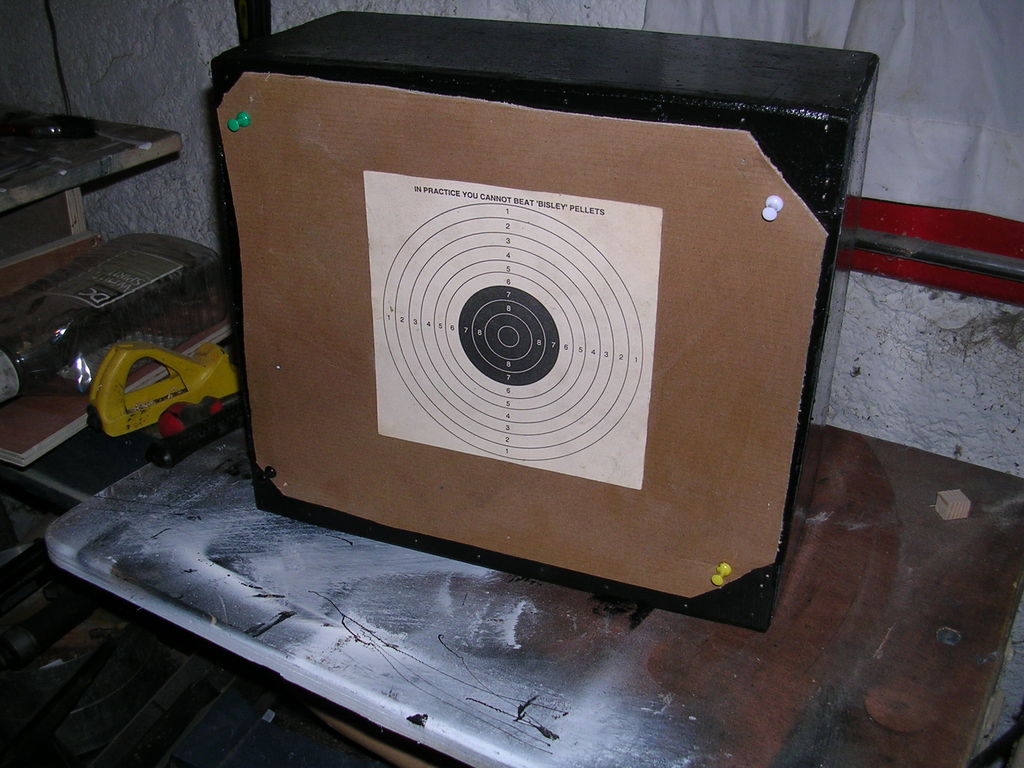
This can be done indoors or outside, so long as you remember that indoors will give you a more controlled environment–but the danger of ricochets is much greater (wear eye protection, yo.)
Get Set Up Securely
Now, of course, you want to make sure that you eliminate as much of your influence over the gun as possible. Reducing human error gives you a way easier time zeroing your scope, since you won’t need to account for your natural flinches, wobbles, and so on.
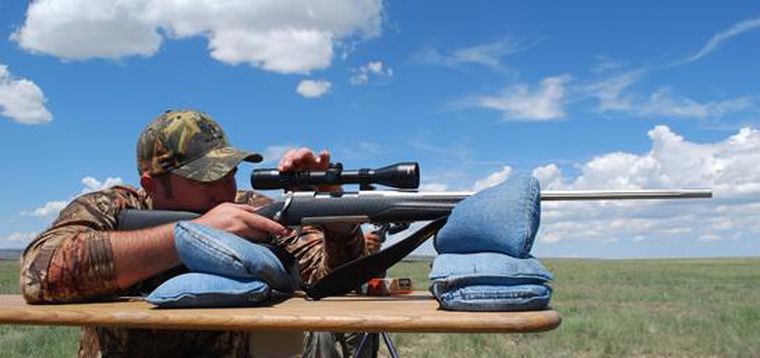
Shooting from a bench is most likely the easiest way to get a secure platform to shoot from, but you can also use a vice, sandbags, or other tools, like lead sleds, that are made to help shooters stabilize their rifles.
It’s also a good idea to make sure that you know what range you’re shooting at, that you’re shooting straight on at your target, and that your target is secured and won’t move about.
Learn How Your Scope Works
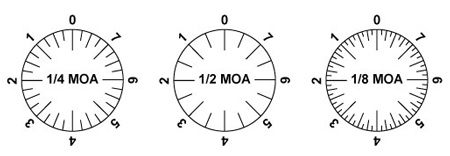
Before you frustrate yourself trying to figure out how to adjust your scope while zeroing it, take a moment to look it over and play with the adjustments. Familiarize yourself with how to adjust it and how many clicks of the dial it will take before you notice the crosshairs moving.
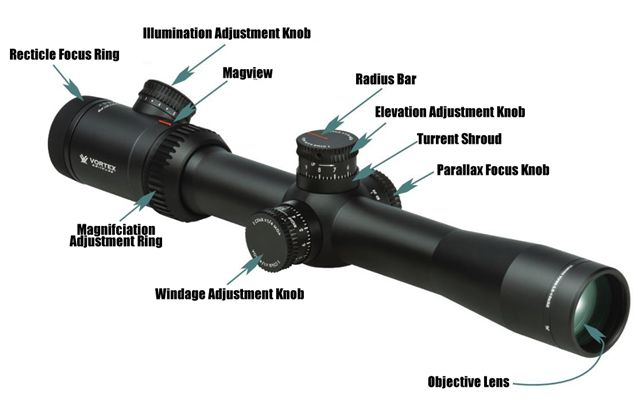
You also should familiarize yourself with MOA, or “minute of angle.” See those markings on the side of your turret? Yep–those are probably measuring MOA.
MOA is a measurement that equates to 1 inch per 100 yards. So if you’re off the bullseye by 1 inch at 100 yeards, you’ll be off 2 inches at 200 yards, and so on.
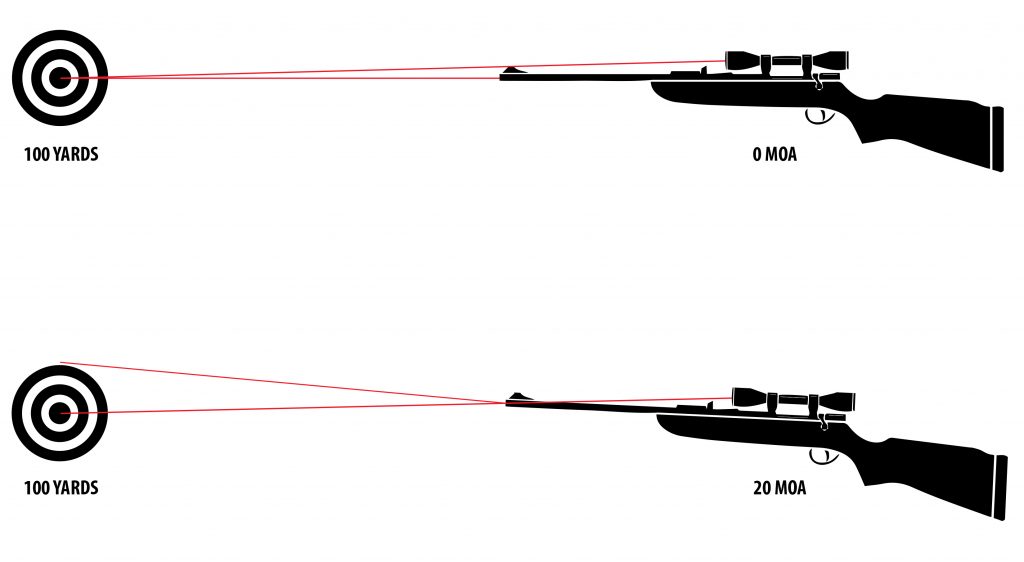
You might also see scopes or other optics where the description talks about the reticle size in MOA. It’s the same concept–the bigger the MOA number, the more of the target that will be covered at a distance.
So what does that mean for those of us adjusting our scopes?
It’s simple–turning your turrets will either adjust the crosshairs up and down (elevation) or side to side (windage). If you turn the windage turret 1 MOA, your scope will shift so that the center of the crosshairs will have you hitting 1 inch to the side of where it was originally hitting. The same applies for the elevation.
Traditionally, 1 click of the turret is equal to 1/4 MOA… or 1/4” at 100 yards. At least the math is easy.
Shoot! And Adjust… and Repeat
Now comes the fun part–line up those crosshairs and fire. You’ll want to make sure you can see where your hits are landing, so get help from a buddy with a spotting scope, or try out Splatterburst targets, which change color where you hit them.
Check your target in between each shot, and adjust your turrets as necessary. It’ll definitely take you more than a handful of shots to get consistent hits, but it also shouldn’t take you a whole bucket of BBs.
If you find yourself needing to make MASSIVE adjustments, just start over. Remount your scope or use shims to make larger adjustments so that you’re not relying on your turrets to make big changes. This frees you up for making slight adjustments on the fly, which can be incredibly helpful in a game.
Anyways, that first shot should be your starting point. If, at 100 yards, it’s 2 inches to the left and a half-inch too high (we recommend a ruler to help you out), you know you’re going to need to adjust your windage much more than your elevation.
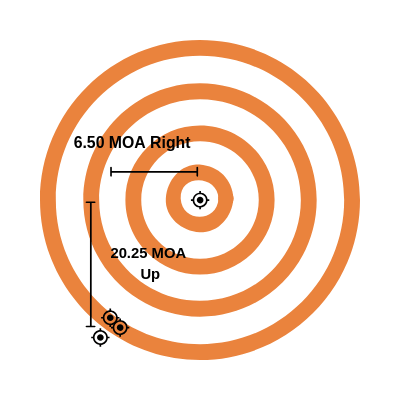
If 1 click equals 1/4 MOA, and 1 MOA equals 1 inch, well… you’ll need to adjust your windage 8 clicks to the right, and your elevation will need to be raised by 2 clicks.
Not working at 100 yards? Try 50–then double all your measurements before you start mathing out how many clicks it will be. At 50 yards, the above hit would be 1 inch to the left, 1/4 inch high. 25 yards? Quadruple them–1/2 inch left, 1/16 inch high. I think you see a pattern here.
Keep shooting and tweaking until you’re repeatedly hitting on target.
What About Parallax?
Great question!
For those not in the know–parallax is a big deal for optics. And, of course, there is an adjustment to control for it.
Scope parallax is an inconsistency in what you see looking down the scope when you shift. If you shift your eye position, and the crosshairs move on the target, you need to correct for parallax, because your crosshairs aren’t accurately reflecting where your rifle is actually pointing.
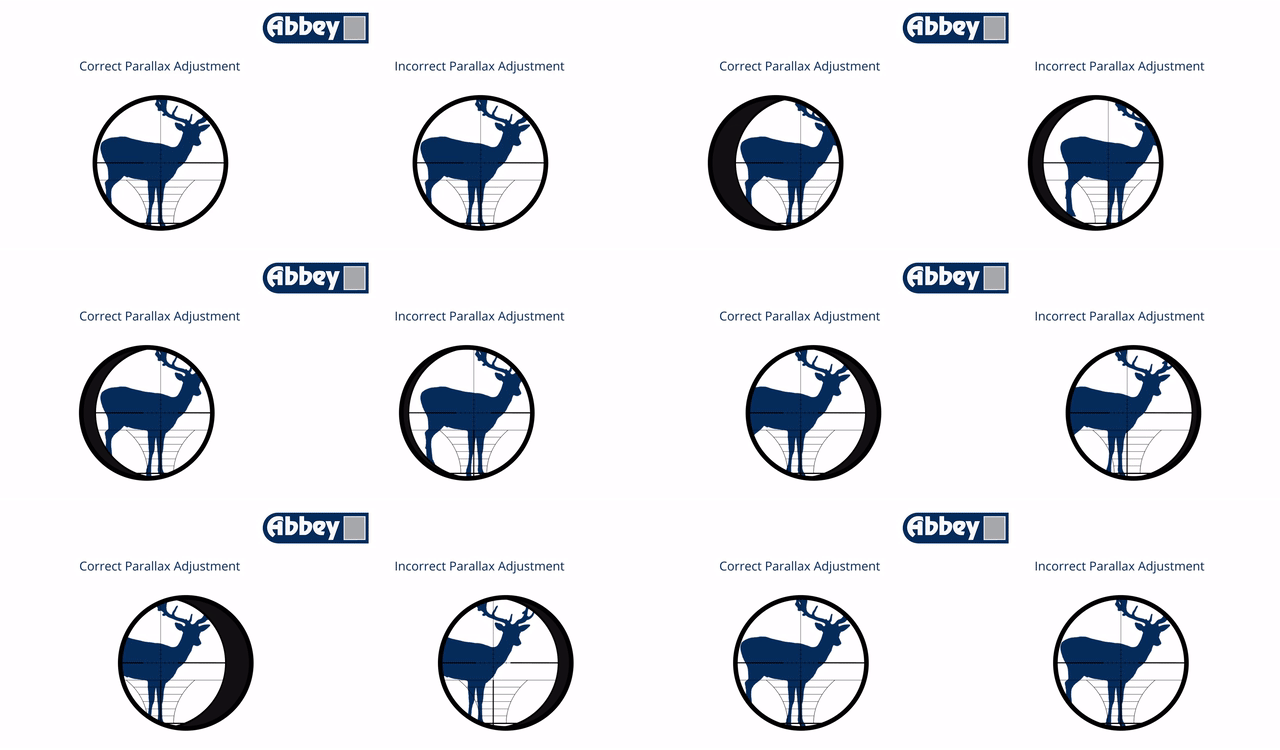
Parallax can change depending on your distance to the target, so it’s good to familiarize yourself with adjusting for parallax on the go. In fact, why not learn how while you’re all set up for zeroing, since the process is pretty similar?
How to Adjust for Parallax
With your rifle securely rested, adjust your parallax ring until it is as close as you can possibly get it to the range you’re shooting at. Don’t be afraid to double-check your distances. It makes this way less frustrating.
Get your eye in line with the sight and aim down your scope. Now, slowly shift your eye position around a bit, watching where the reticle is positioned on the target. Is it moving around? We need to correct more. Is it staying on target? Boom! You’re done.
Now, if it’s moving, we need to figure out why it’s moving. If you shift your eye to the right a bit, does the reticle move left or right? If it moves right, you need to increase the distance of adjustment until it stops doing that. If it moves to the left, you need to decrease the distance of adjustment.
So, reticle moves in the same direction as your eye? Increase distance. Opposite of your eye? Decrease distance.
Conclusion
We know this might feel a little technical and overwhelming, especially for those of you who are new to airsoft, but we promise–with patience and practice, you’ll be able to zero your scopes like a seasoned pro.
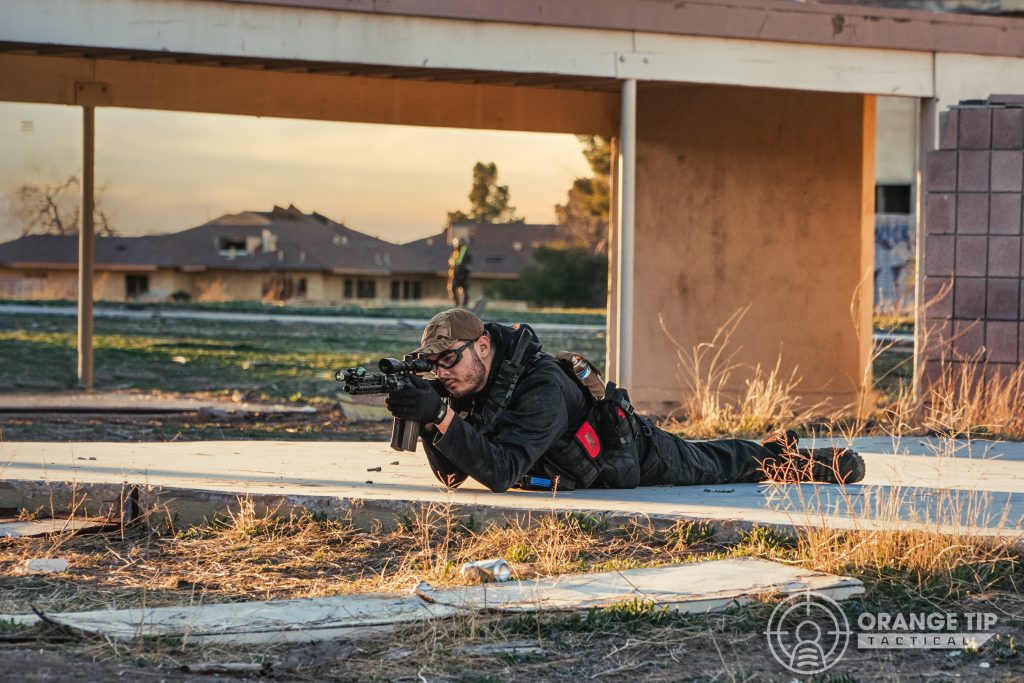
Don’t be afraid to play with it until you find what works, and don’t forget to check your zero and parallax every once in a while to keep yourself on target!
As always, we want to hear from you! Questions about zeroing? Tips or experiences about zeroing scopes? Drop us a comment and share with us! While you’re here, check out the Best Airsoft Scopes.

